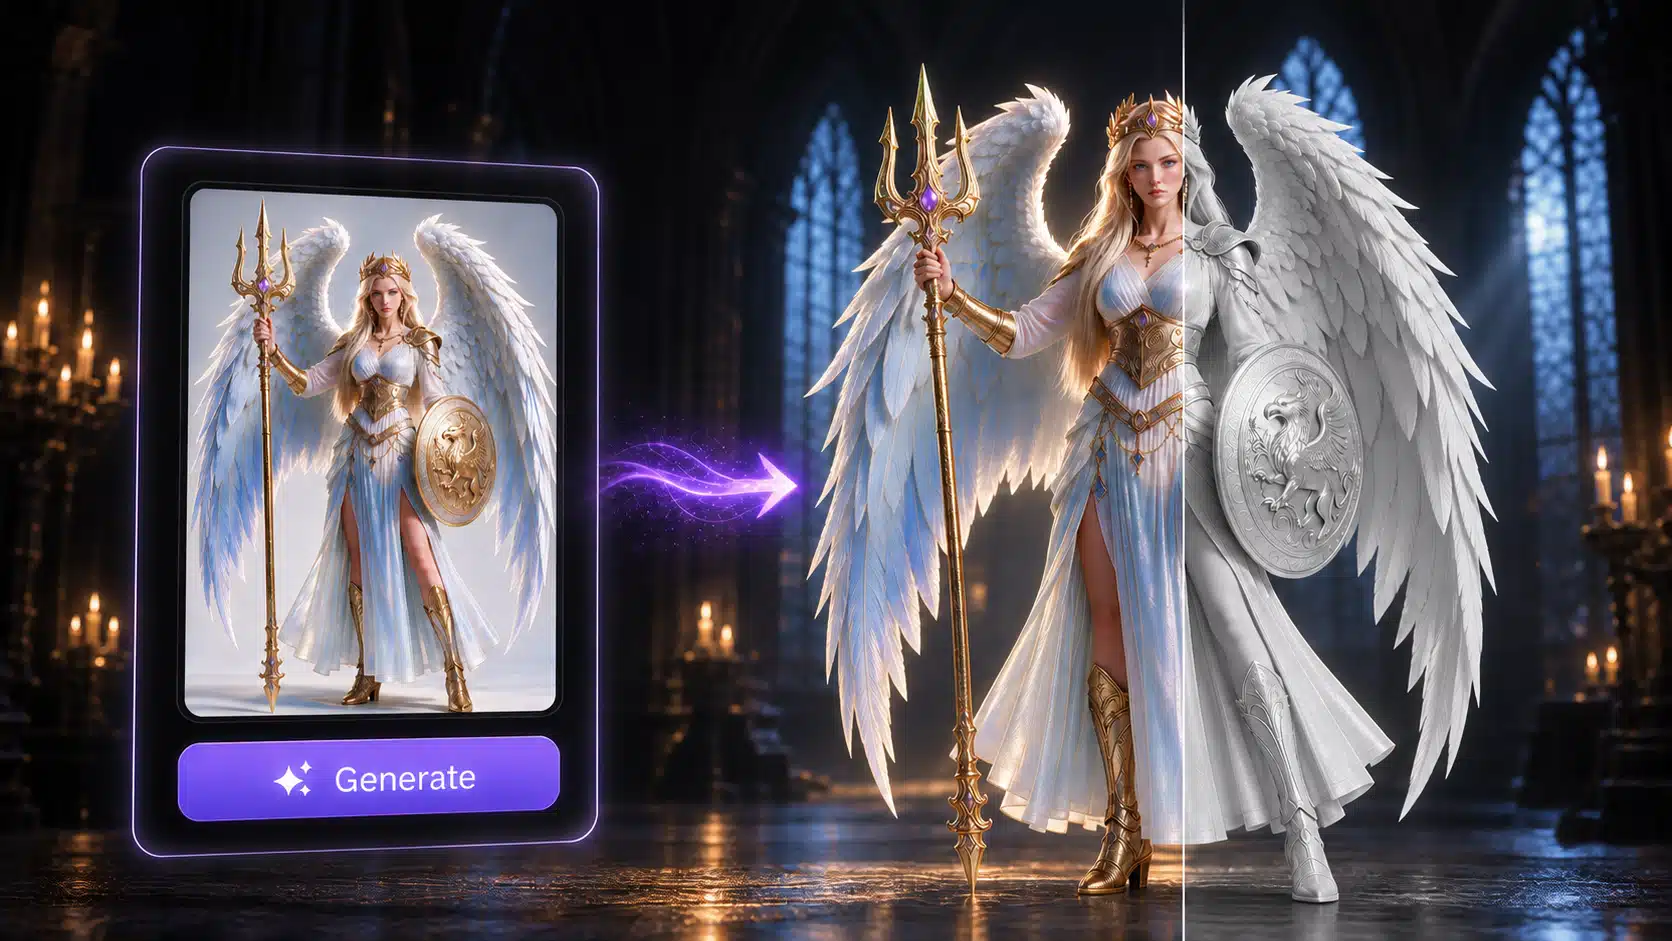
Image source: N4D
A photograph can explain an object’s appearance while leaving much of its shape uncertain. N4D uses AI to generate a three-dimensional model from a reference image, giving creators a way to explore that shape beyond the original viewpoint. The useful starting point is a clear image and a specific idea of what the resulting object should do.
For someone trying a 2D image to 3D model workflow, preparation and inspection belong to the same process. The reference guides the generation; a review of the result reveals which features survived and which need attention. Consider a simple example throughout: a watering can being developed as a decorative prop for a digital scene.
Choose a reference that explains the object
Start with an image in which the watering can is easy to distinguish from its surroundings. A clear silhouette helps communicate the relationship between the body, handle and spout. If a plant covers the handle or the spout blends into the background, the image offers less evidence about those features.
A three-quarter view is often useful because it reveals more than one side. The best choice still depends on the object. A view that makes the body clear but hides the attachment of the handle may leave an important relationship ambiguous. Compare the available images before committing to one, and choose the view that explains the defining structure.
Use enough space around the object to preserve its outline, while keeping it large enough to show meaningful details. Crop unrelated surroundings carefully. Strong reflections, heavy blur or a dramatic shadow across the surface can make the image harder to interpret. A new, evenly lit photograph may be more useful than extensive editing of a poor source.
If a sketch is the starting point, give it a consistent perspective. Conflicting outlines can describe several different shapes at once. Keep the original sketch as well as any cleaned version so that later changes can be traced to a deliberate choice.
Keep colour edits separate from changes to the design. Removing an uneven background can improve readability, whereas painting over a handle changes the evidence supplied to the generator. If the intention is to redesign the watering can, label the edited image as a new concept. This distinction becomes useful when several people compare the original object with different generated interpretations and try to explain where a particular feature came from.
Understand what a single image leaves uncertain
An image records a view of an object, rather than a complete description of its volume. The back of the watering can, the inside of its handle and the underside of its base may be hidden. The generation system has to infer those areas from the visible evidence and patterns learned during training.
That inference makes single-image generation useful, but it also sets a boundary on what the result proves. A plausible rear surface is a generated interpretation. It is not evidence that the real object has that exact rear surface. This matters when the purpose shifts from a decorative scene prop to documenting a real product.
Decide which features need to remain faithful to the reference. For the prop, the rounded body and curved handle might define the design, while the underside has little importance. For a close-up view, the spout opening could become critical. Writing down that priority gives the inspection a clear purpose.
Generate and review the first result
In N4D, the image-to-3D process starts with uploading a photo or sketch, selecting the available generation preferences and generating a model. Texture options can be chosen according to the intended result. Once a candidate is available, begin with its overall form before spending time judging small surface details.
Rotate the object and compare several views with the reference. For the watering can, look at how far the spout projects, whether the handle connects coherently and whether the body retains its intended proportions. A result that resembles the photograph from one angle may reveal a different shape when seen from the side.
Inspect shape separately from surface appearance
Surface colour can make an imperfect form look convincing. When the viewing tool allows it, inspect a plain shaded version to make the silhouette and attachments easier to assess. Then look at the textured result to check whether painted details, seams or surface patterns appear where expected.
Make comments specific enough to guide the next action. “The handle is too thick when viewed from behind” is useful feedback. “It looks wrong” leaves open whether the problem concerns geometry, colour or the reference itself. Compare the candidate with the intended use as well as with the original image.
Decide what kind of revision is needed
If the reference leaves a defining feature obscured, changing the image may help more than generating repeatedly from the same ambiguous source. If the source is clear but the interpretation is unsuitable, another generation can provide a different candidate. Keep useful results rather than assuming that a later attempt will preserve every successful detail.
A model may also need work in a separate modelling application. Treat that as a planned part of the workflow when precise edits matter. Regeneration produces another candidate; it should not be treated as a guaranteed method of changing one feature while leaving everything else identical.
Match the export to the next step
Choose the destination before deciding that the model is finished. N4D offers several export formats, including GLB, OBJ, FBX and STL. The receiving application and the task determine which format is suitable. A model for a digital scene and a model intended for physical printing require different checks after export.
For the decorative watering can, open the chosen export in the intended scene or viewer. Check its apparent size, orientation and surface appearance there. Format support establishes a transfer option, while an actual import confirms how that particular file behaves in the receiving environment.
If physical printing becomes the goal, add a separate preparation stage. Check dimensions, wall thickness, small features and the slicing preview for the chosen printer and material. The visual likeness of a generated watering can does not establish that it is watertight as a container or suitable for holding liquid. Functional requirements need their own design work and verification.
Keep the reference with the selected model
Save the reference image beside the chosen generation and any subsequently edited files. Add a short note explaining the intended use and the features that were accepted. If several candidates exist, use clear filenames so that the version approved for a scene is easy to identify later.
A repeatable image-to-3D process depends on those small decisions. Choose a reference that explains the object, review the inferred shape from multiple angles and test the export where it will be used. N4D provides a practical starting point for generating the model; a purposeful review helps turn that candidate into an asset suited to the project.