Label Images
To train an image recognition model, you first need to have labeled images. In most cases, image labeling requires manual human work. Human labelers have to look through the images and label objects they would like the algorithm to learn to recognize. After the images are labeled you can train a model to predict such information about objects inside the images without any human help.
While the SentiSight.ai platform offers the ability to train your own image recognition model, you can simply use it for image labeling, too. After you are done labeling, you can download the labels as a .json file and train a machine learning model yourself. Users also have the ability to share their projects with other users, manage their privileges, and track labeling time. You can read more about it here.
Important terms
Throughout this chapter you will see mentions of "dashboard" and "labeling tool".
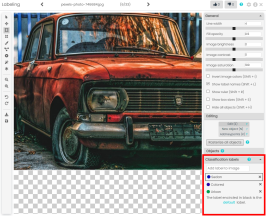
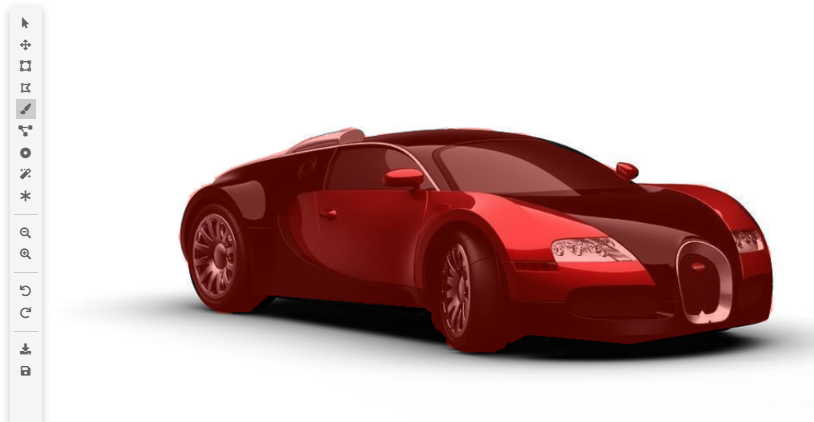
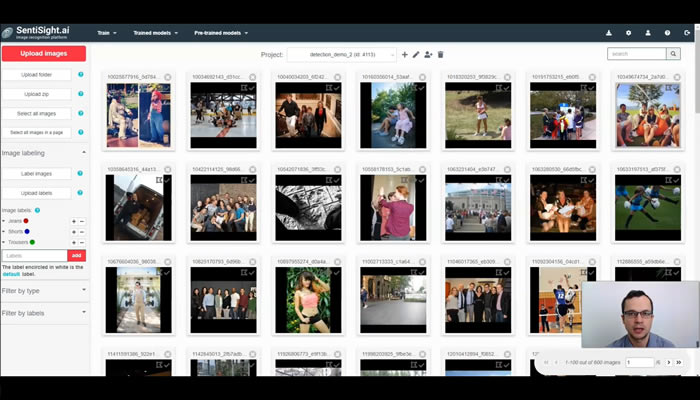
The dashboard refers to the main project window of SentiSight.ai, where you can see your images. Most labeling actions are performed either from left-hand-side menu (blue border) or by right-clicking on image (green border).
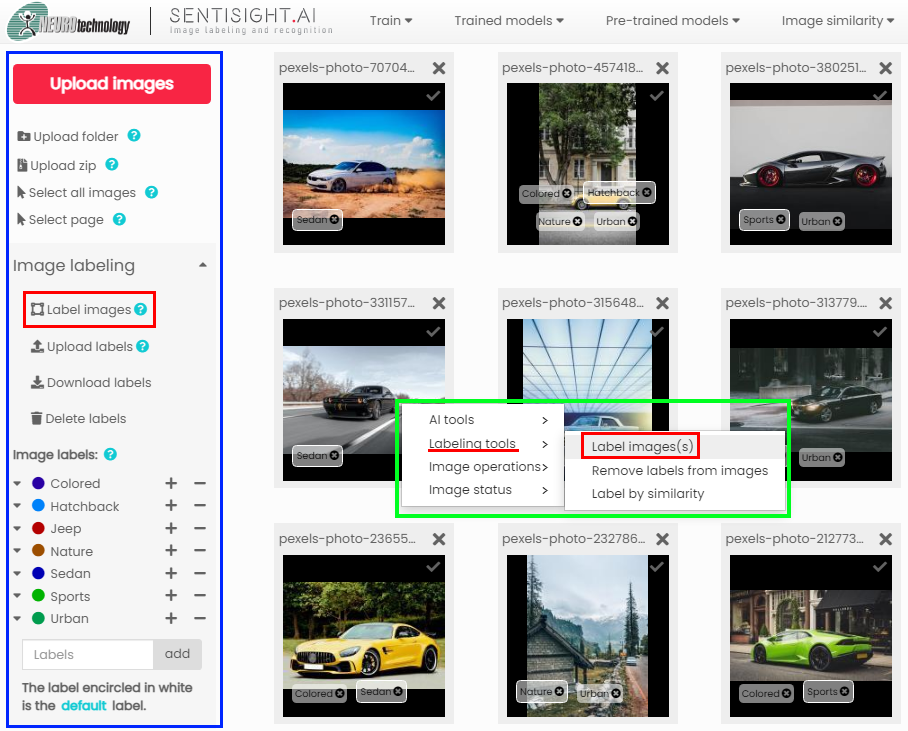
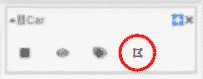
The labeling tool is a powerful instrument for applying all kinds of labels to your images. Though mostly oriented towards object labels, it can be used for classification labeling as well.
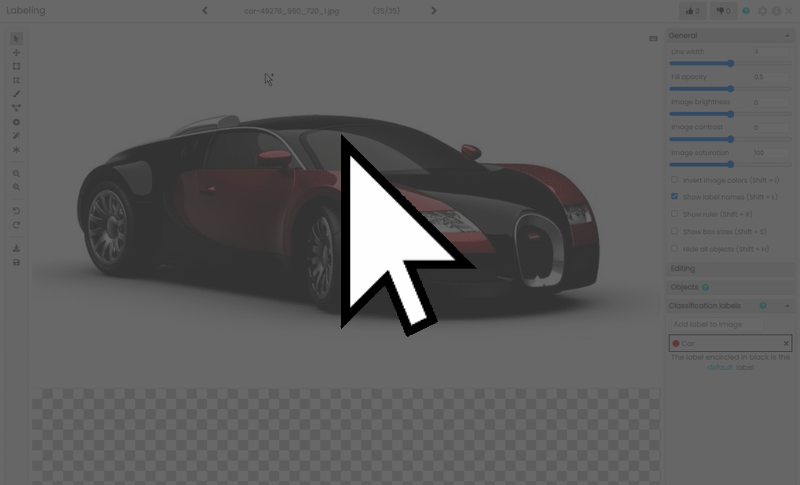
It can be accessed by clicking on Label images buttons in either left-hand menu or right-click menu (red borders in image above).
Keep in mind, that if any images are selected, the labeling tool will only open those images. If there are any active filters on, only images fitting those filters will be opened. If there is no selection and no filters, labeling tool will open all images in the project.
Labeling images for classification
The most basic and widely used type of label is classification label, which describes what an image contains without specifically marking where exactly on an image an object is located.
Classification labels are necessary for classification model training.
Two main ways to apply classification labels are through web platform dashboard or through image labeling tool (see below).
If you already have labels your images in JSON or CSV format, they can be easily uploaded to the platform. See here for instructions.
Additionally, our platform offers AI-assissted labeling. See here for more information.
During upload, users have the ability to add classification labels to images if they are uploading individual images or a folder. After selection, users are met with a dialog in which they can write one or more comma separated labels into the label field. If a user has already created some labels, he will see them as suggestions which can be clicked to add.
During ZIP upload, users can select to add classification labels to images based on the name of the folder they are in.
After uploading your images you can add classification labels to them using the the label panel on the left side. To create a new label, click the label field, enter your label and press add. To add the label to images, select some images and press + next to a particular label. Alternatively, you can use - to remove the label from images.
You can change the label's name by clicking on it with your mouse, entering the new name and pressing 'Enter'. You can also change the label's color by clicking on the colored circle near it and using the palette.
|
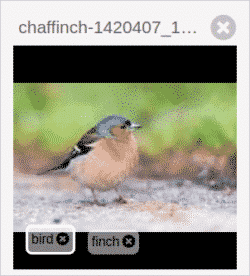
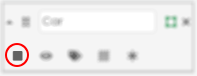
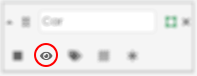
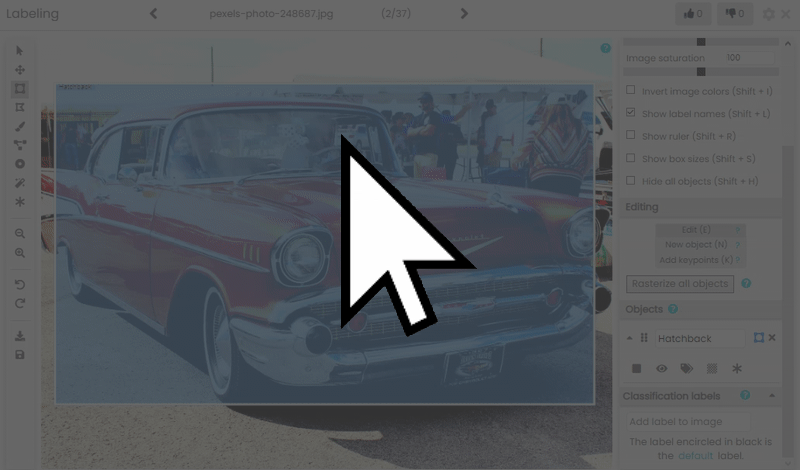
You can apply classification labels from a dedicated panel at the bottom of the right-hand menu in the Labeling tool.
Simply select the label from the list and press Enter to apply the label. Click on the label to make it default.
Advanced operations, like changing label color or making it default in all images cannot be performed from here.
 |
|
In case an image has more than one label, one of those labels is called the "default" label and it is encircled in white. This is the label that will be used if you train a single-label classification model on images with multiple labels. There are four ways to change which label is the default one:
- Clicking on the label of interest on an image with your mouse.
- Selecting some images that already have the label of interest, and labeling them again using the '+' button with the same label. The default label will change in all of those images.
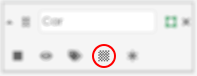
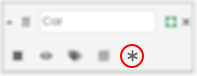
- Clicking on the drop-down arrow next to the label and clicking the star icon. The default label will change in all images that have the label.
- Clicking on the label of interest in the classification labeling panel of the labeling tool.
Synchronize labels
If you want to train both object detection and classification models on the same images, you can save labeling time by using label synchronization. Synchronization applies classification labels to images that have corresponding object labels.
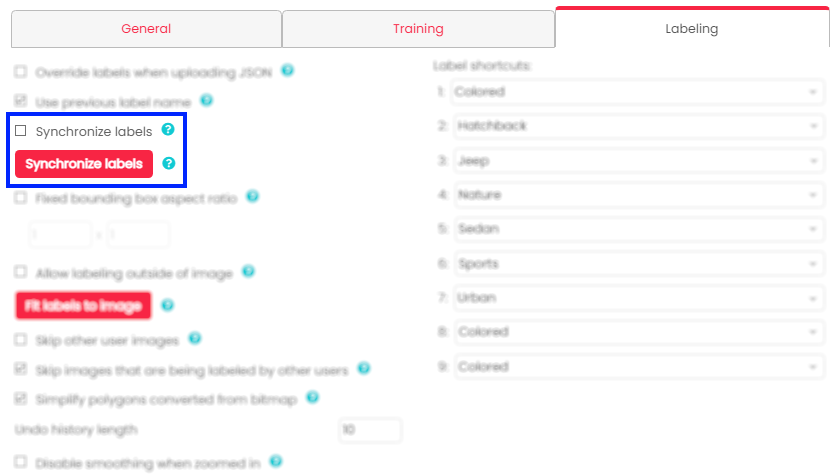
In the Labeling tab of the Setting panel, you can find a checkbox and a button called Synchronize labels.
The checkbox makes every object label created after that apply a corresponding classification label to the image.
The button makes all existing labeling objects retroactively apply corresponding classification labels to images.
You can read about the other settings here.
Labeling images for object detection and segmentation
Object labels consist of bounding boxes, polygons, and other labels that are drawn on images to show where exactly an object is present on an image. They have different uses. Bounding boxes are the basis for object detection model training. Polygons and bitmaps are used in segmentation model training. Points or polylines can be used in keypoint detection training.
SentiSight.ai offers a powerful image labeling tool that you can use to draw bounding boxes, polygons, bitmaps, polylines, and points. It has a variety of functions and tools, such as our smart labeling tool, to ease the work of the labeler.
Alternatively, most object labels, excluding bitmaps, can be uploaded in JSON format, while bitmaps can be uploaded separately. You can read more about uploading object labels and bitmaps here. Likewise, all object labels can be downloaded as JSON or BMP (in case of bitmaps) and used for your in-house model training. Read more about downloading labels here.
Below you can see basic types of object labels you can use in the labeling tool.
RPY objects allow you to set roll, pitch, and yaw of the image, to indicate their orientation in space. Can be used as separate object, or as a property of bounding boxes and polygons (see below).

Complex object labeling
While points and bounding boxes are very simple to create and edit, there is a number of tricks to other object types.
You can click on images to open larger animated gifs.

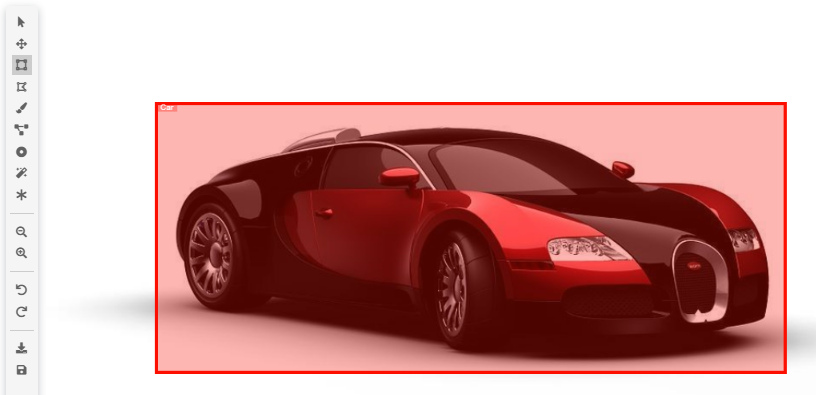
Bounding boxes
To resize a bounding box, drag it by an edge.
In Labeling settings, you can set a fixed aspect ratio for bounding boxes. This will not affect already existing bounding boxes until you try to resize them.
If you want to draw a bounding box on top of another bounding box you have to click New Object (shortcut N) first.
If you want to resize or move a bounding box covered by another bounding box, click on the box you want to modify in the labeling object list. This will bring it to front and allow you to interact with it.
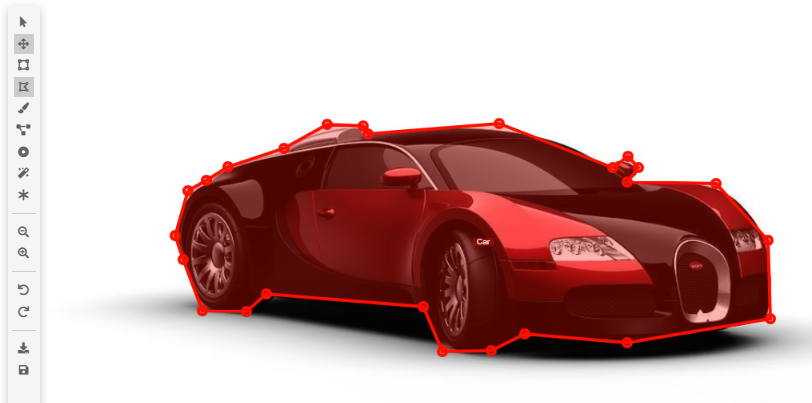
Polygons and polylines
When drawing a polygon, press Enter or New object (shortcut N) to finish drawing a current polygon. The next click will start a new object.
Select the polygon and press Edit (shortcut E) to add or move vertices. To move a vertex just click on it and drag. To add new vertices, click close to a border - you will see a projection of new vertex and changed borders when in position to add a point.
Press New polygon in group (shortcut G) to create a new separate polygon that will be considered part of the same object - useful for labeling multipart objects.
Press New hole (shortcut H) to create a hole. Holes are created and edited exactly like polygons, but parts of the image covered by them are not considered part of the object the hole belongs to.
Press Remove points (shortcut R) and click on individual points to remove them. The polyline will redraw itself with remaining points - deleting a point does not create a gap.
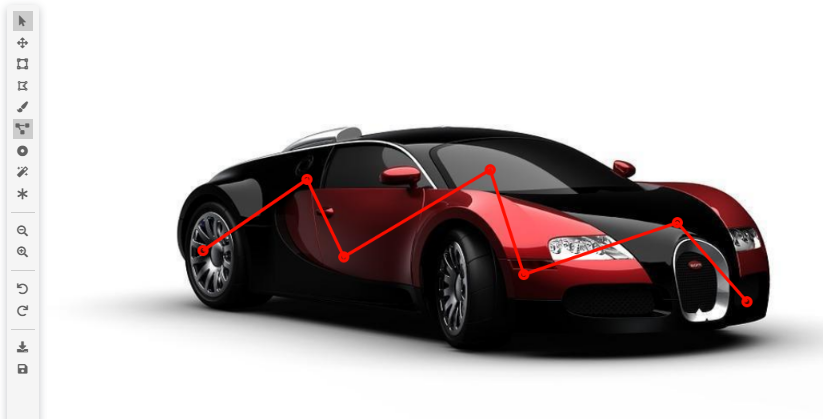
Polylines work largely the same as polygons, except they form a line instead of a closed shape and as such cannot have holes.
Bitmap
Bitmaps are drawn with a MS Paint-like brush. Unlike other objects, bitmaps do not have to be connected in any way to form a single object. You paint any number of disjointed masks in a single object.
When drawing a bitmap, press Enter or New object (shortcut N) to finish drawing a current bitmap. Next click will start a new object.
Select the bitmap and press Draw (shortcut E) to add to existing bitmap.
Select a bitmap and press Erase (shortcut R) to replace the brush with an eraser that will remove mask.
Press Fill (shortcut G) and click inside a closed bitmap shape to fill it forming a solid mask. Note that if bitmap area is not closed entire image will be filled.
Shared features
The following features apply to most object types.
This icon will mark object as "occluded". It will change the object's border to a dotted line to show that it is partially obscured by other objects. Currently, this is purely for information purposes and has no effect on model training.
Visibility allows you to hide the object label, making it invisible and non-interactive, allowing you to better see or edit objects in same area. Alternatively you can use "Hide all objects" and "Show all objects" buttons to change visibility of all objects present in an image.
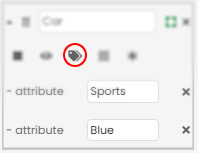
Attributes are text-only notes that can be added to objects.
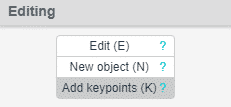
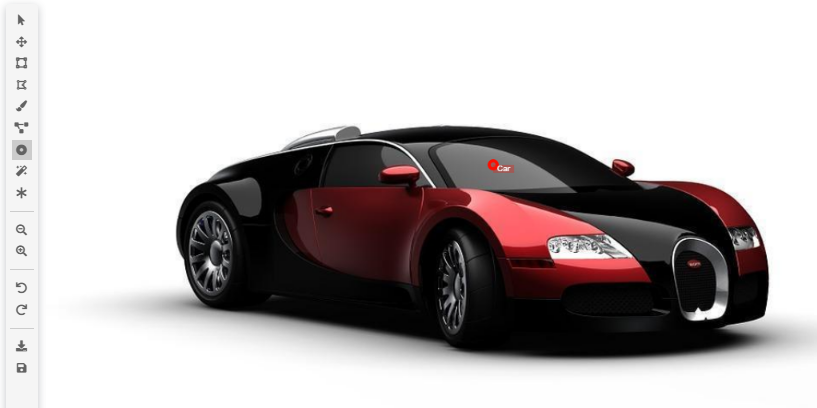
Keypoints
Keypoints can be added to bounding boxes and polygons, marking position of important points - e.g. eyes and nose on a face.
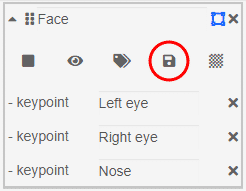
You can save a template for a set of keypoints with certain names for a specific object label. For instance, if you add keypoints named "Left eye", "Right eye", "Nose", etc to a bounding box labeled "Face" and save the template, next time you add keypoints to an object labeled "Face" first keypoint will be automatically named "Left eye", the second one "Right eye" and so on.
Rasterization
Bounding boxes and polygons can be converted to bitmap masks using Rasterize button. Additionally Rasterize All Objects button is present to turn all applicable objects into bitmaps.
Please note that rasterization clears all keypoints and attributes from the object.
RPY
Bounding boxes and polygons can have roll-pitch-yaw orientation added to them, to signify how the objects are oriented in space.
Converting bitmap to polygon
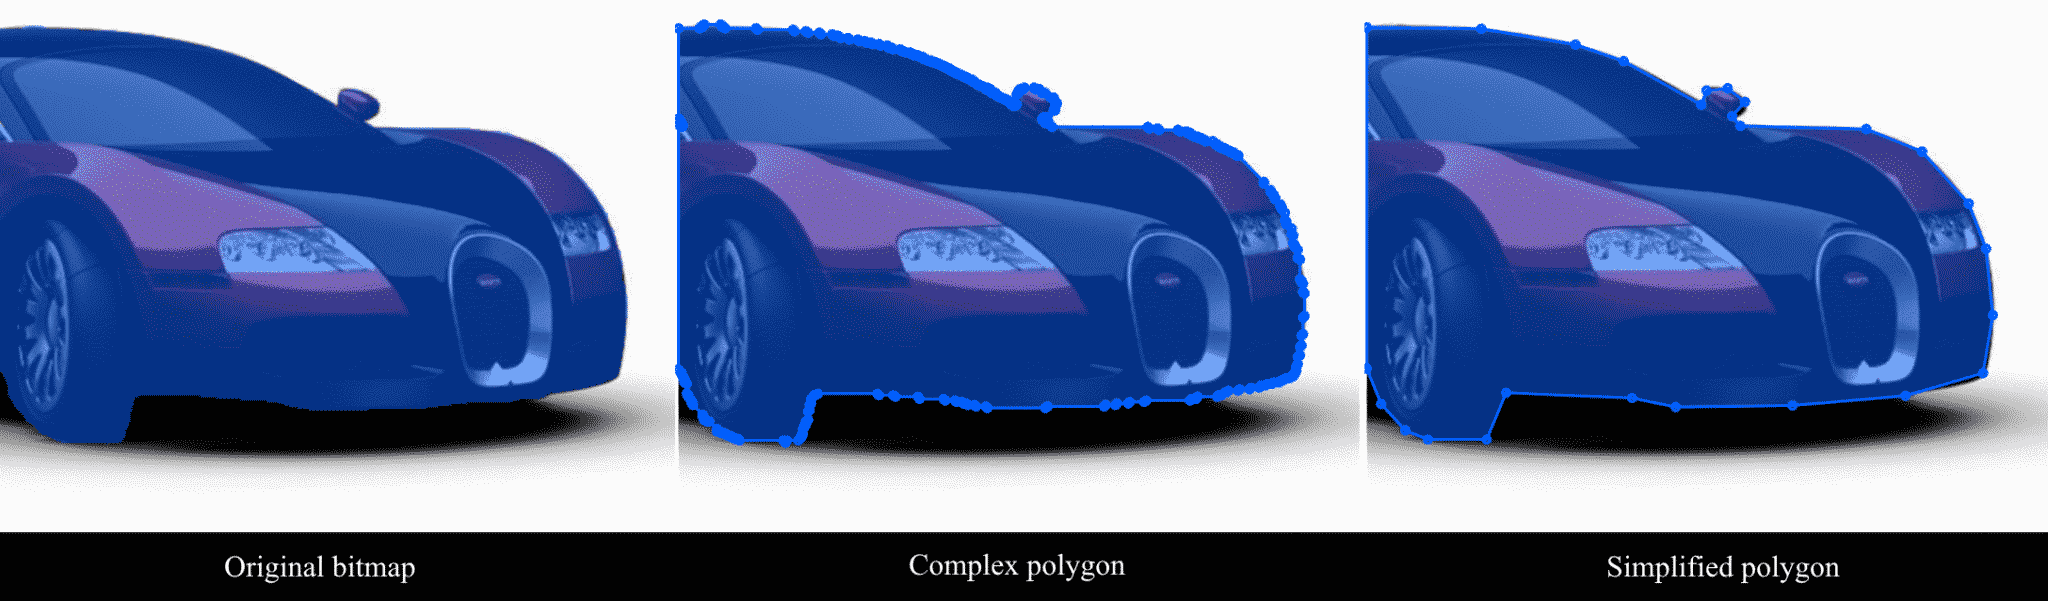
Additionally, bitmaps can be converted to polygons using the Convert to polygon button.
You can choose to convert a bitmap to a very detailed polygon perfectly resembling it or use the "Simplify polygons converted from bitmap" setting to create a much simpler polygon.
This setting can be found by clicking on the ![]() button in the upper right corner of SentiSight.ai page and selecting the Labeling tab. For more information see here.
button in the upper right corner of SentiSight.ai page and selecting the Labeling tab. For more information see here.
Labeling tips
If you have trouble discerning small but critical details in your image, you can adjust its brightness, contrast, and saturation, or invert image colors - these effects will not be saved in your image.
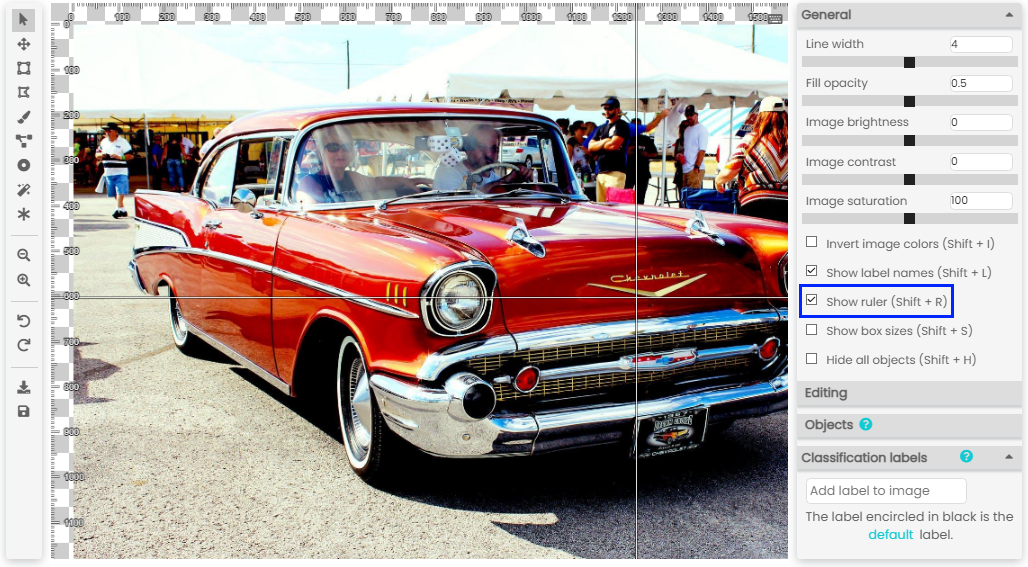
You can also use a ruler to make your labeling more precise.
After you finish labeling, press S to save your labels, or navigate to the next image - this will save your changes automatically.
After you exit the labeling tool, you can see images that have been labeled in the project, marked by this symbol: ![]()
Smart labeling tool
Smart labeling tool is a powerful instrument that allows you to quickly create complex bitmap masks by separating objects from the background.
All it needs is a user to mark some points of the foreground and background, from which the algorithm extrapolates the rest.
Using smart selection tool
- Select a rectangular area that the tool will work in.
- Mark the foreground. For largely homogenous-looking regions that contrast well with the background, a few brief lines are enough. For regions with complex colors that may blend with the background, it might be better to cover them completely.
- Wait a moment as the tool extracts the foreground.
- If the tool has trouble distinguishing between foreground and background, mark the background. In general, you don't have to be very precise - you just need to let the tool know which colors or patterns constitute the background.
- If you go overboard with either brush, you can click Erase to touch up your mask
- Repeat steps 2-4 until you are satisfied with the result.
- Once you are content with the result, click ✓ to produce a bitmap mask. You can touch it up with the Bitmap tool if you need to.
You can see workflow of smart selection tool in the gif below.
AI-assisted labeling
As an alternative to purely manual labeling, SentiSight.ai also offers the ability to label images based on predictions from your trained or pre-trained models, as well as based on image similarity.
The first step in AI-assissted labeling is to make a prediction on an existing model, using images you want to label.
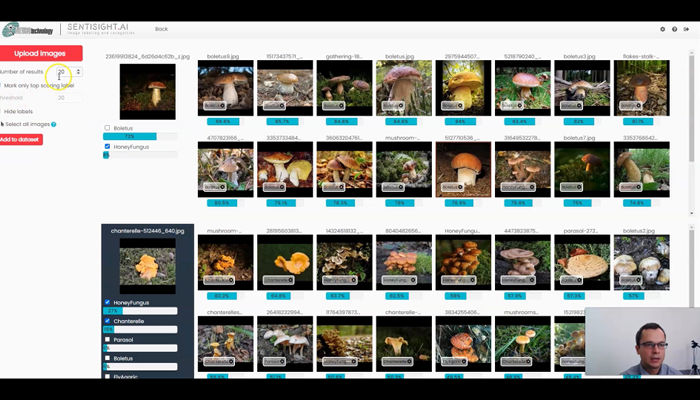
After you make a classification predictions on your images, you will see a screen similar to this:
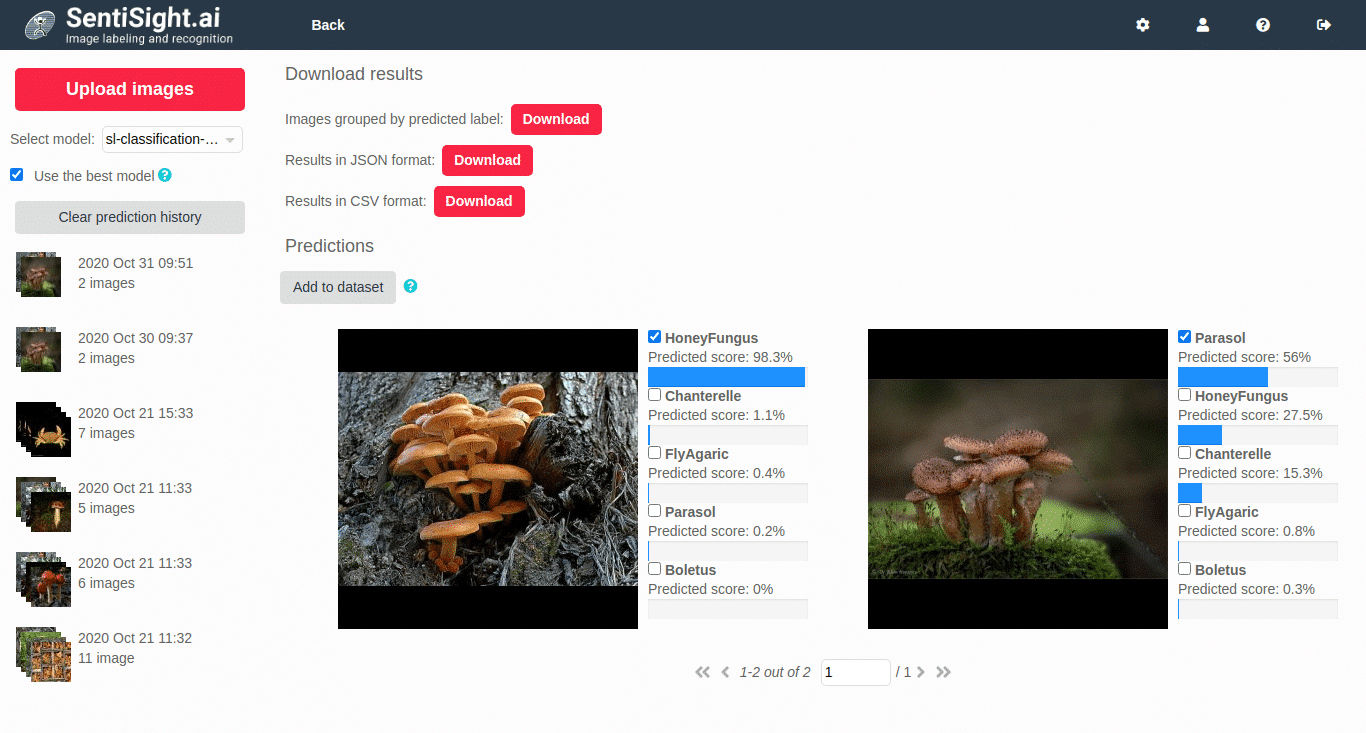
You can see that there is a checkbox next to each label along with the predicted score. For a single-label classification, always the first checkbox that corresponds to the predicted label with the highest score is checked by default. For multi-label classification, all checkboxes that correspond to labels with predicted scores above the score threshold will be checked. If some of the predictions are incorrect, you can adjust them by checking/unchecking the checkboxes. After you are done reviewing the predictions, you can select some or all of the images and add them to your dataset. If those images are already in your dataset, only their new labels will be added.
This is how predictions look like for object detection models:
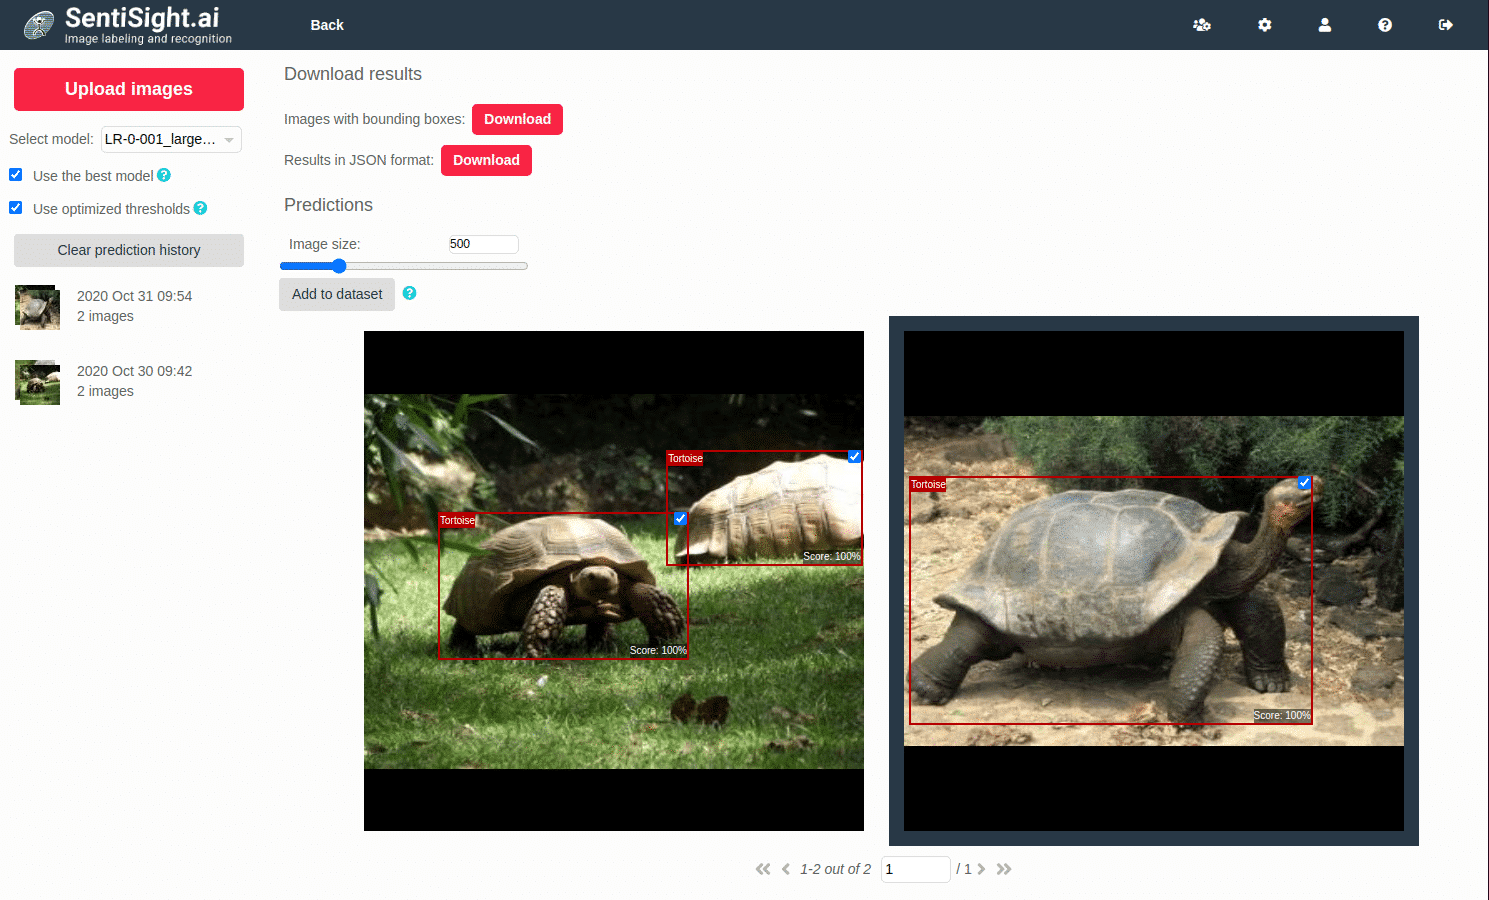
Here, you will see bounding boxes with a checkbox in the upper right corner. Just like in image classification, you can either select or unselect the bounding boxes by clicking on the checkboxes or on the bounding boxes themselves. Afterward, select images and add them to your dataset.
Whether you are using AI-assisted labeling for classification or object detection, in both cases after the images are added to the dataset you will see them marked as “auto-labeled” in the main dashboard. You can filter those images by selecting the appropriate “Filter by type” option. This can be useful in case you want to review the classification labels again or adjust the auto-labeled bounding boxes using the labeling tool.
AI-assisted labeling can also be used with pre-trained models. These are the models that are already trained on a large data set and they can be accessed via the “pre-trained” models menu for making predictions. These predictions can be then used to label some images and after reviewing these AI-assisted labels they can be used as a starting point for training your own model.
Training new models with newly labeled images will increase the accuracy of further predictions and streamline the process, requiring less and less human attention and input with each iteration. This is commonly referred to as iterative labeling.
Labeling by similarity
If you only plan to use classification labeling, you can use another AI-assisted labeling functionality - Labeling by similarity. It does not require model training, can be used as soon as you have some images labeled and can radically streamline and quicken the labeling process. Its accuracy increases with every image labeled. Please see here for more information.
Labeling settings
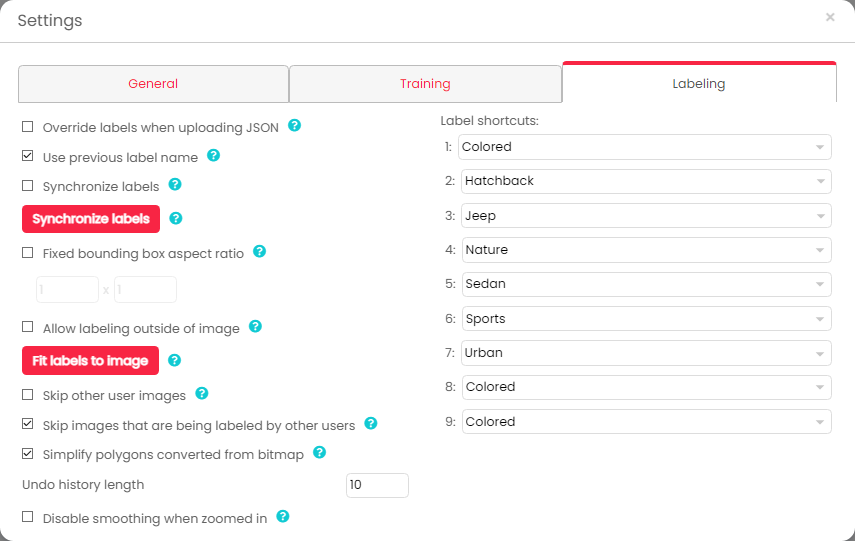
SentiSight.ai offers many settings to customize labeling experience. Below you can find the list of them all with explanations.
Settings can be found by clicking on the ![]() button in the upper right corner of SentiSight.ai page.
button in the upper right corner of SentiSight.ai page.
- Override labels when uploading JSON - determines, whether old labels will be overwritten by new labels if an uploaded JSON is attempting to label an already labeled image. See more here.
- Use previous label name - if checked, new objects will have the same label name as the previously created object by default. If this is the first object in an image, it will have the same name as the default classification label. If unchecked, all new objects will have an empty label name by default.
- Synchronize labels - applies object labels to their respective images as classification labels. Described in detail here.
- Fixed bounding box aspect ratio - ensures newly drawn or resized bounding boxes will have only the set aspect ratio.
- Allow labeling outside images - determines whether you can draw labels outside image borders. Keep in mind, that blank canvas outside image borders will never be considered for any form of training.
- Fit labels to image - pushes all labels that are fully or partially outside image borders fully onto the image. Keep in mind it might mess up your labels.
- Skip other user images - if checked, images that have been labeled by other users won't open in your labeling tool.
- Skip images that are being labeled by other users - if checked, images that are opened in other users' labeling tool(s) won't open in yours.
- Simplify polygons converted from bitmaps - if checked, bitmaps will be converted to less detailed polygons, as described here.
- Undo history length - amount of operations in the labeling tool that can be undone.
- Disable smoothing when zoomed in - When zoomed in, use nearest-neighbor interpolation for images and bitmap labels. May not work in some browsers.
- Label shortcuts - assigns existing labels to numbers, allowing to quicker set names for object labels.
Video tutorials
For more information please check out video tutorials detailing image labeling.
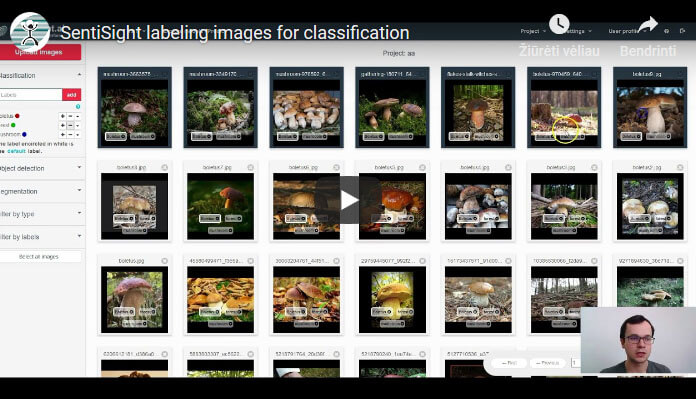
Labeling images for classification
Topics covered:
- Labeling images during the upload
- Adjusting the labels after the upload
- Changing thedefault label for the image
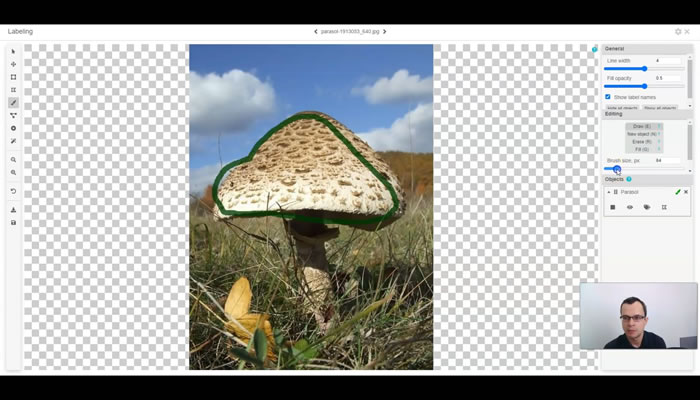
Labeling tool tutorial
Topics covered:
- Labeling bounding boxes, polygons, bitmaps
- Adding keypoints ant attributes
- Converting bounding boxes and polygons to bitmaps and vice-versa
- Labeling occluded objects
- Using smart labeling tool
- Downloading and uploading image labels
Object detection training tutorial
Topics covered:
- Basics of bounding box labeling
- Selecting parameters
- Training object detection model
- Analyzing learning curve
- Analyzing statistics and predictions
- Analyzing precision-recall curve
- Changing score thresholds
- Downloading model or using it online
Labeling by image similarity tutorial
Topics covered:
- Labeling by image similarity feature
- Changing parameters
- Adjusting suggested labels manually
- Performing AI-assisted labeling iteratively
- Downloading classification labels